We all know cleaning our makeup brushes is a huge pain, but it definitely needs to happen about once a week. Keeping your brushes nice and clean is not only easier when applying makeup, but it is supremely important to wash out all the old oils, bacteria, dead skin, etc. Plus! There is nothing like applying a neutral color to your eye, only to find out that it is that awesome smokey blue color you wore last night instead! That’s always fun. But seriously, ain’t no one got time for that. I’ve been using Lilumia brush cleaner for a hot minute and it has been a life saver! Its design lets the brushes be placed upside down, eliminating the age old fiasco of getting water into the barrels -causing your bristles to fall out! So not only does it save time, it keeps your brushes in great shape, longer. The Lilumia can fit up to 12 brushes.
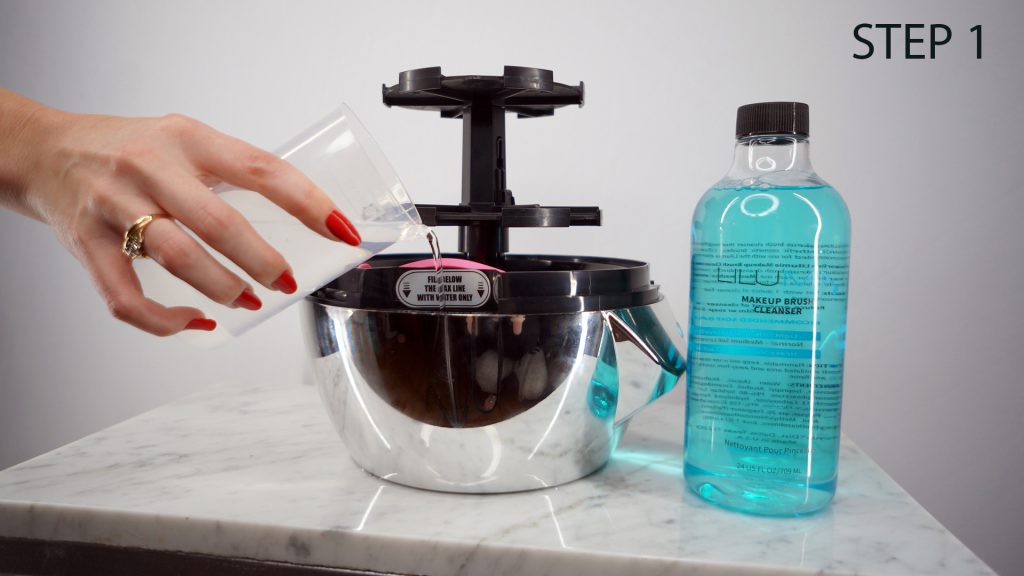
Step #1
You first need to pour warm water into the reservoir, taking care to fill right below the max water line. Using the clear cup that is packaged within your Lilumila, which has different ounces already marked out for you.
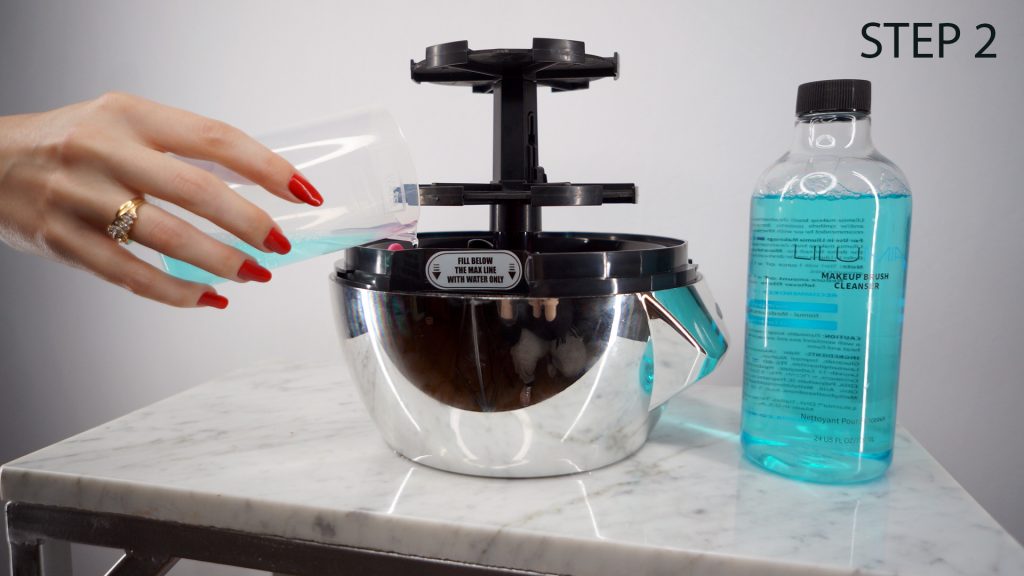
Step #2
Pour 2 ounces of the special Enhanced Lilumia Cleanser right in the middle where the top of the brushes will touch.

Step #3
They suggest cleaning off any stubborn excess makeup beforehand.
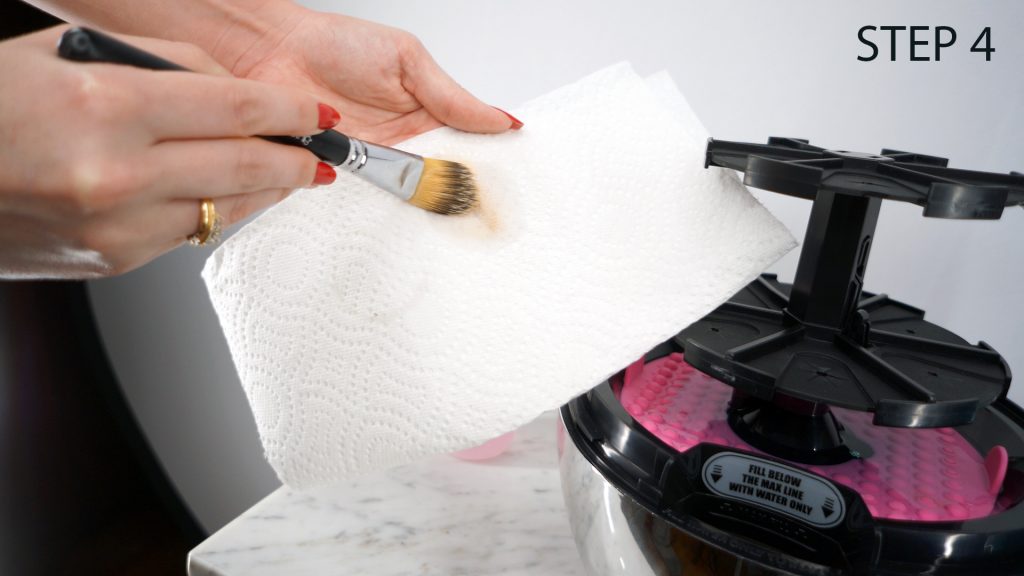
Step #4
I typically take a wash cloth and use a little bit of daily brush cleanser to remove any caked on foundation, or powder, that’s still on the brush. Just remember that daily brush cleansers are great for switching between colors, but they don’t get deep down in the brush!
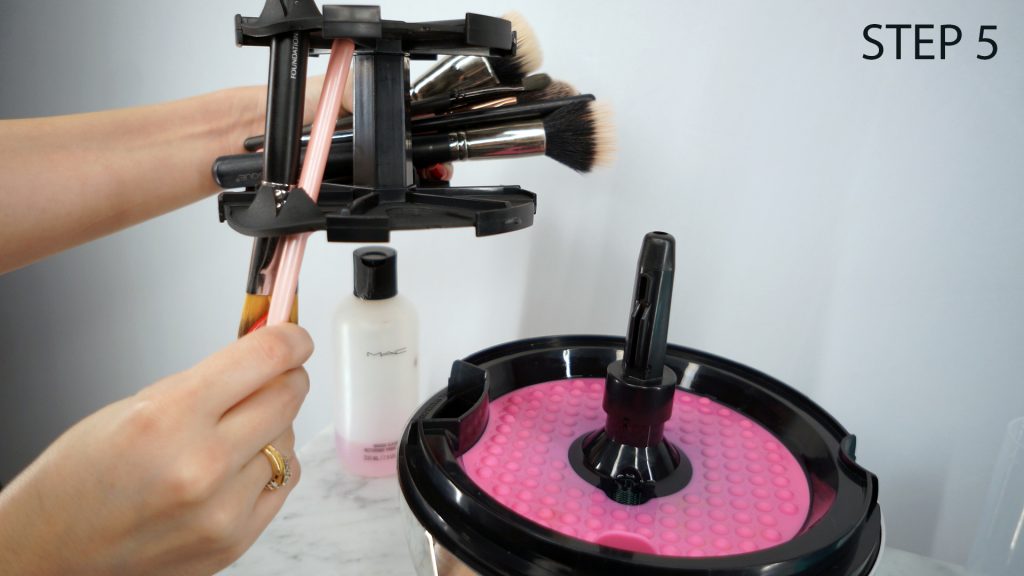
Step #5
Now load those bad boys up!
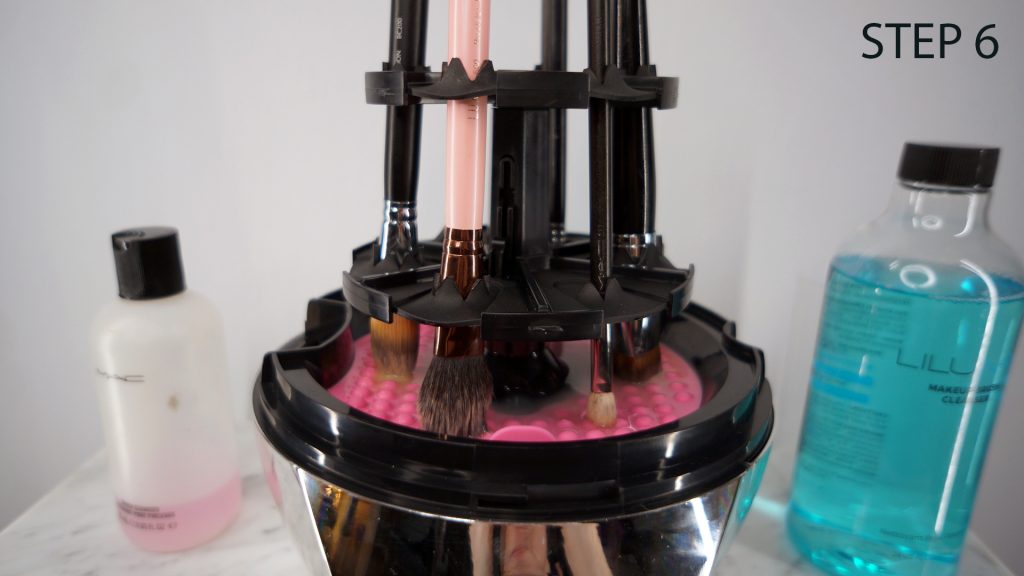
Step #6
When you load up the brushes, place them directly on top of the cleaning disk. It is important not to load them where the bristles are smashed up against the disk, you want the tips to hit where they can be rotate and cleaned. If your brushes are too low it will damage your brushes and the machine might not be able rotate. It’s just bad all around, so don’t do it.
Step #7
Quarantine your brushes!!

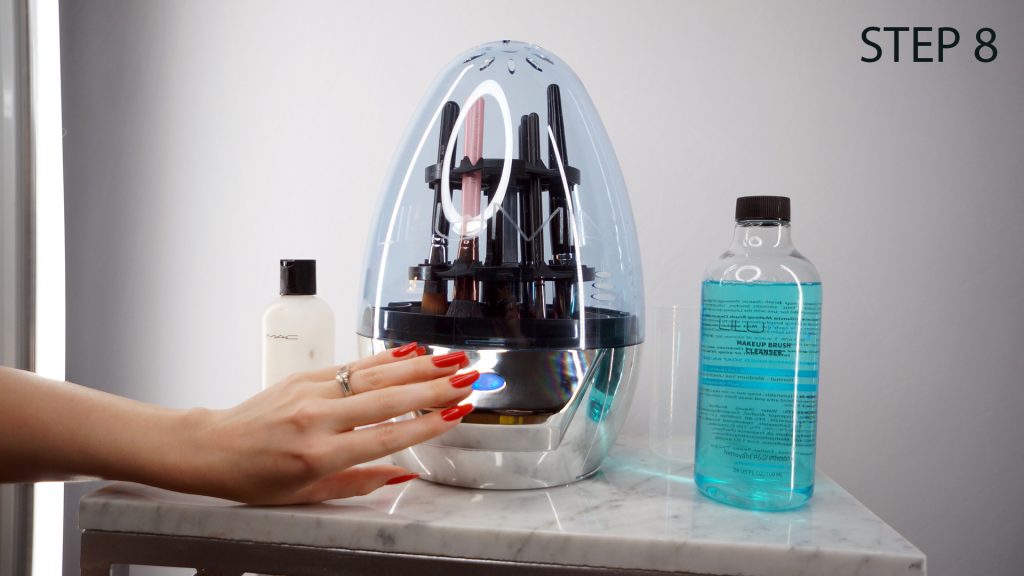
Step #8
Fire it up!

Step #9
Voila, It’s magic!

Step #10
All done! Now make them filthy, and follow steps 1-10.